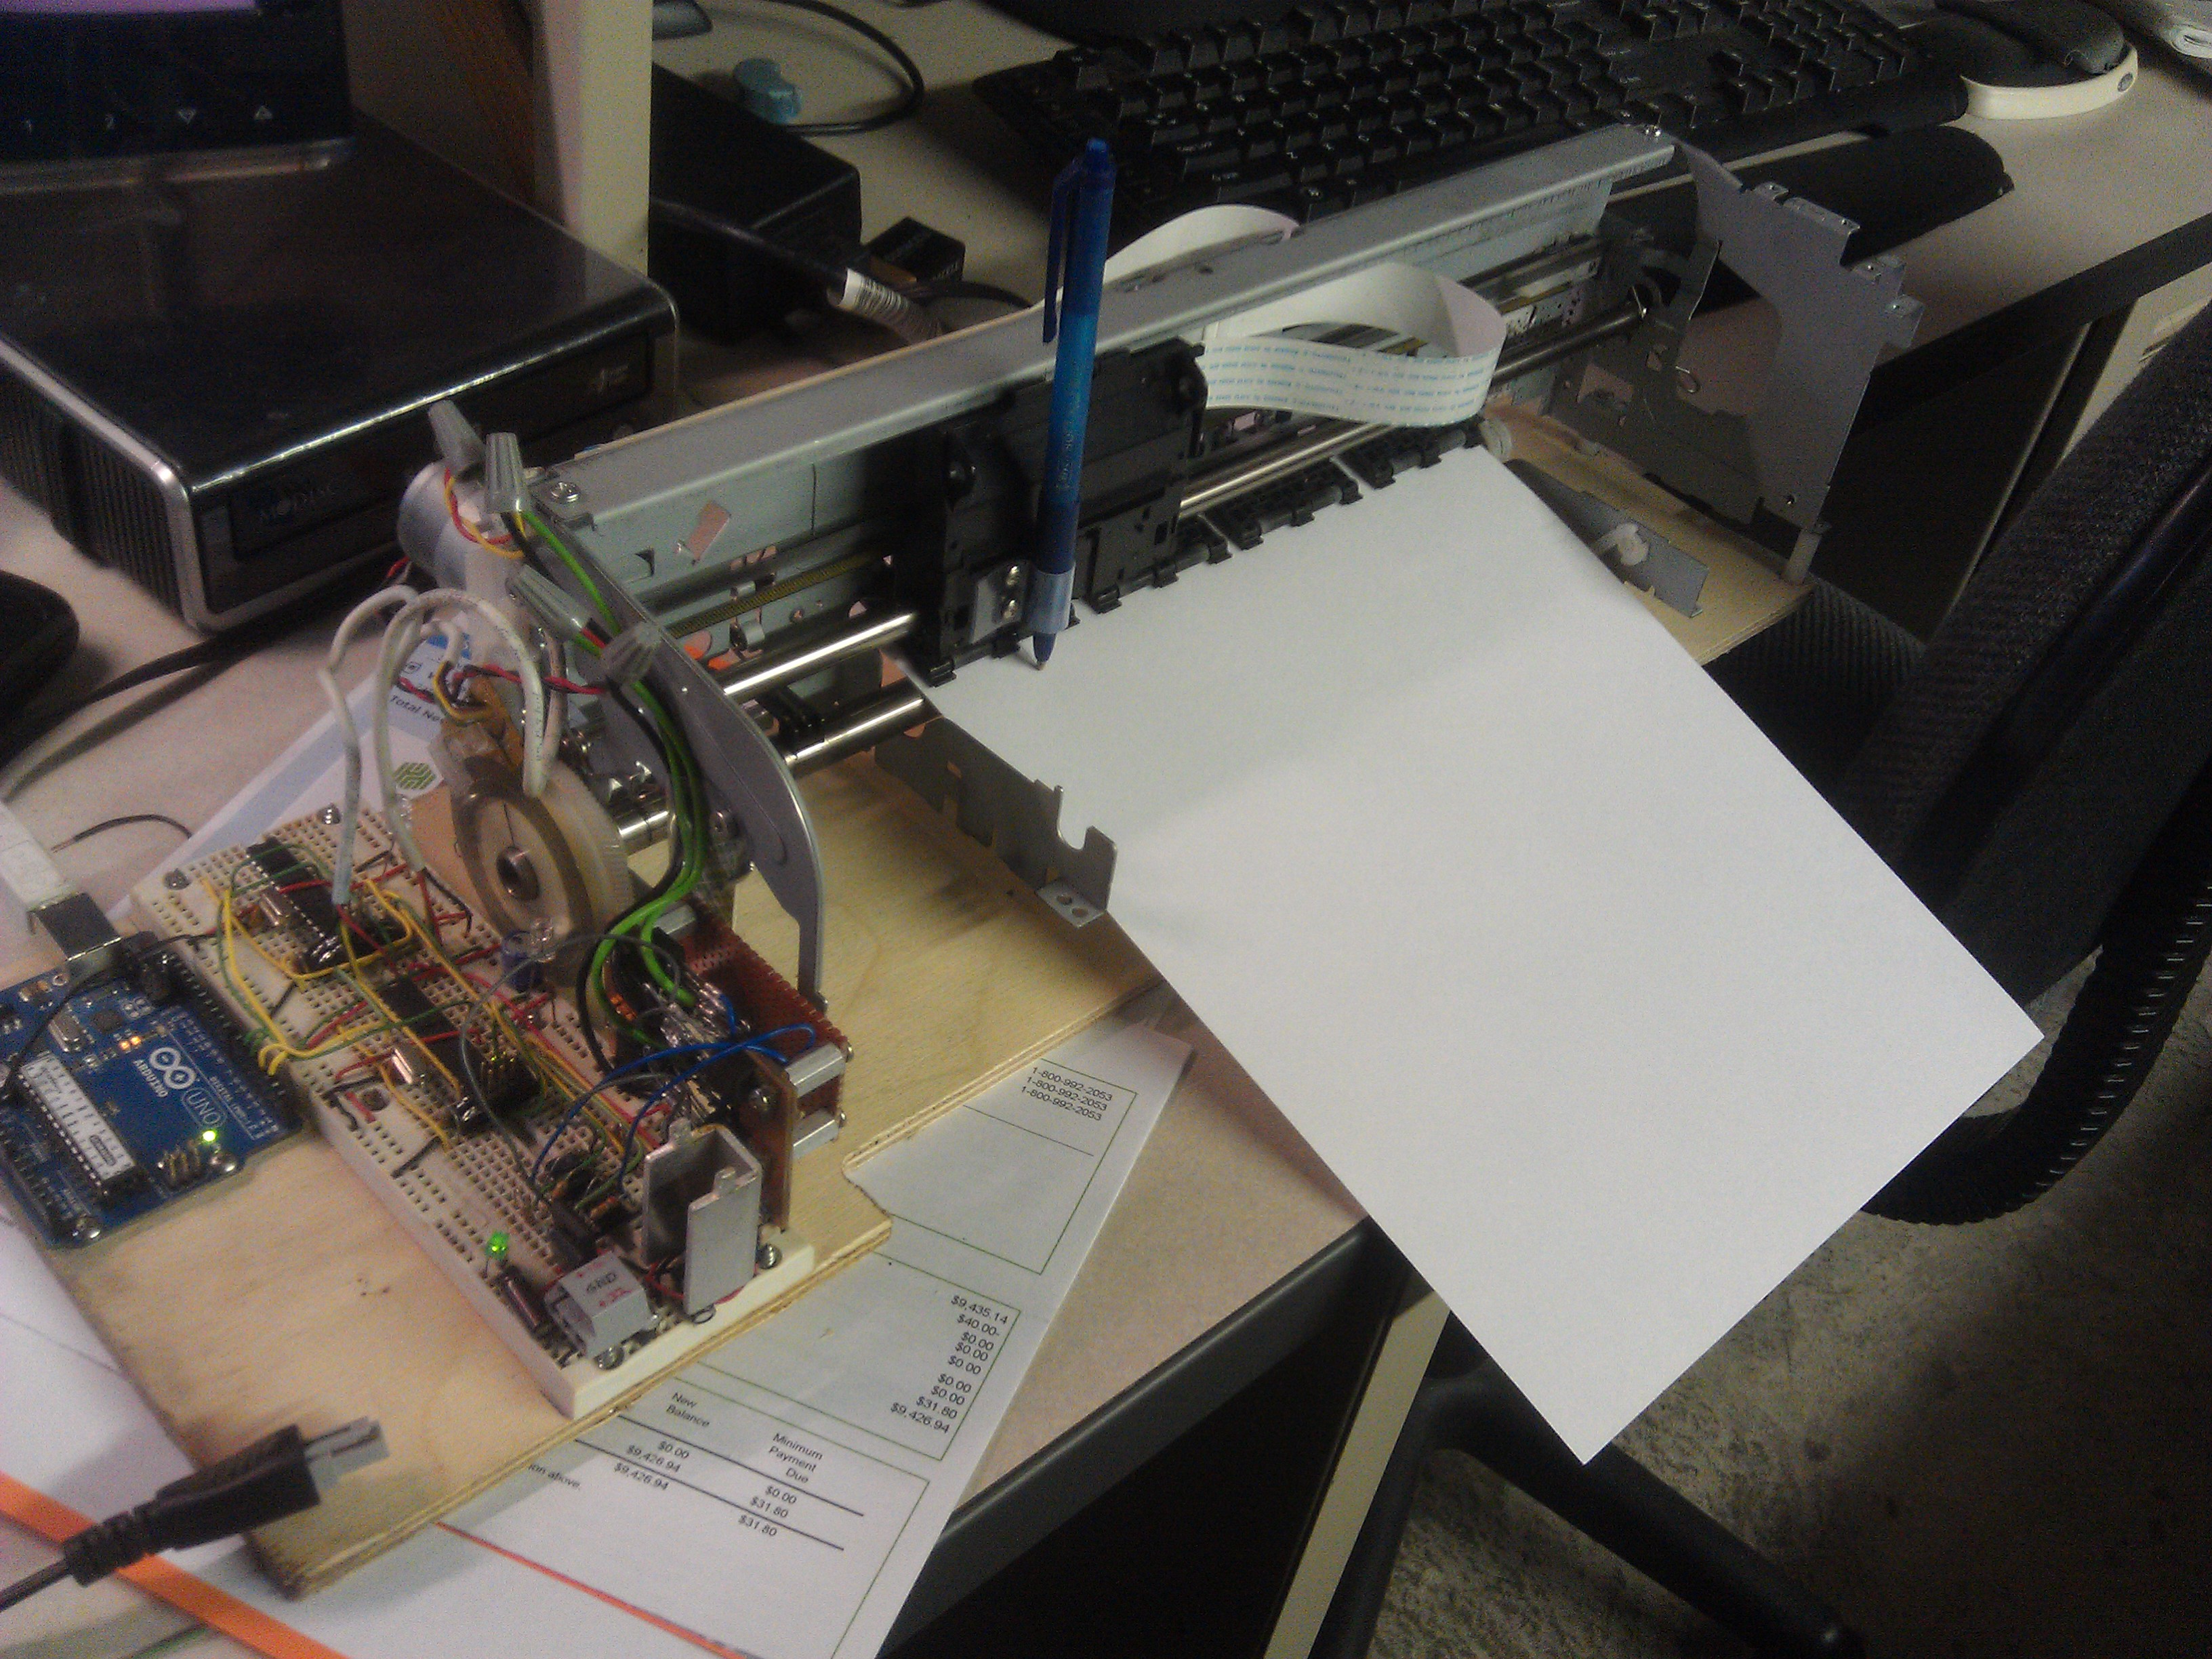
Here is the first iteration of my CNC machine, a pen plotter made from an old dell printer, which eventually turned into a CNC router. This machine uses the original motors and sensors for X and Y axis, and eventually an RC servo for the Z. The shot here is lacking the Z axis at the time I took the picture.
Here’s a video of it running a plot (with a plain old Bic pen!)
Here’s what the V515w looks like originally. They are really a Lexmark printer under the hood. Boy are they cheap junk. I had started putting together some bits of an HP inkjet and got distracted and started tearing this thing apart.
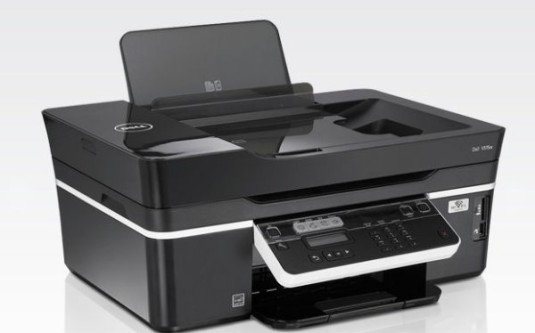
Here’s the last bit of it so that I could remember that yes indeed it was a Dell V515w:
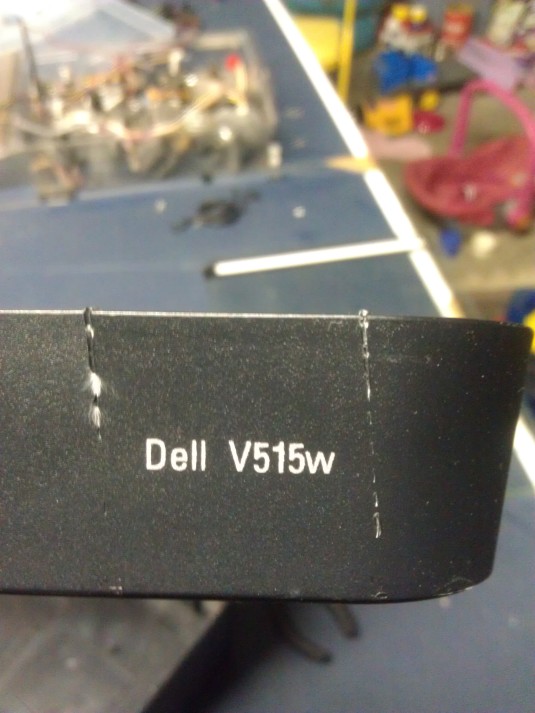
I took that picture because I knew people would want to know what printer this CNC machine is based from. It doesn’t matter, I assure you. Lexmark (or Dell) printers are just like HP printers they use the same optical encoder wheel and strip system for positioning. HP is just barely better quality (but it is, in my opinion).
I had gone to the local scrapyard (which I knew collected electronics) and asked them if I could raid their collection of old printers. They said sure, knock yourself out. So I found two big all-in-one printers, and this was one of them. The scanners had nice parts too, that I used in a later iteration of this CNC machine.
There was a link on Hackaday that got me inspired to even attempt doing this:
Closed Loop Control For 3D Printers
In fact, I was so inspired that months later I’m still reeling with inspiration from this. Pray for me. Actually before I got the printers, I went scouring the thrift shops for old wheel mice. That yielded me this:
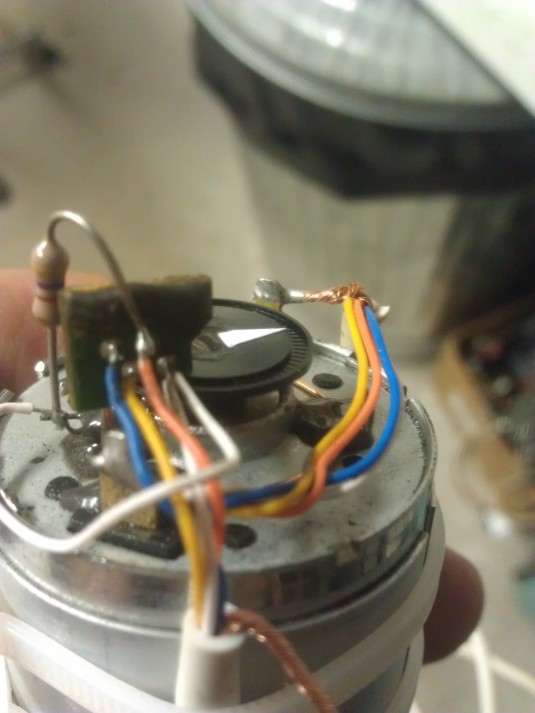
That is a dead-bugged quadrature encoder and wheel from a wheel mouse, glopped onto the back of an old HP printer motor. I experimented a lot with PID controllers before finally settling on a variation of ServoStrap. What this arduino library allows you to do, is make an el-cheapo DC motor behave like a stepper motor, being commanded by STEP and DIR signals such as that from the excellent GRBL software (which also runs on arduino).
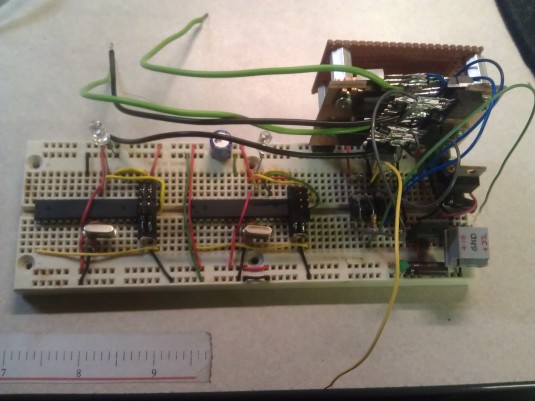
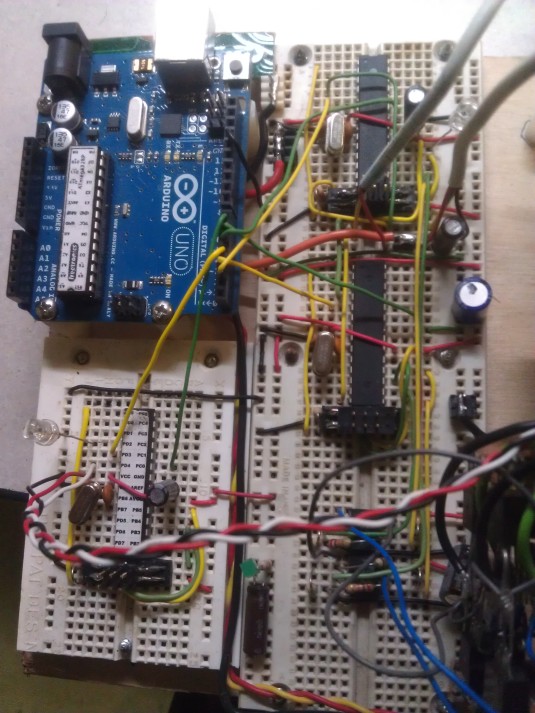
And this is exactly what I did. I whipped up a board with a “real” Arduino UNO in one corner, flanked by 3 breadboard based arduinos (yes they are arduinos!) that run either servostrap or a crude stepper driver that takes STEP and DIR. (Don’t ask for source code yet, I don’t have it organized and uploaded anywhere.)
But later, I completely upgraded the Z axis to use a stepper motor and bearing slides. Here’s a video of it running with the Z axis working:
