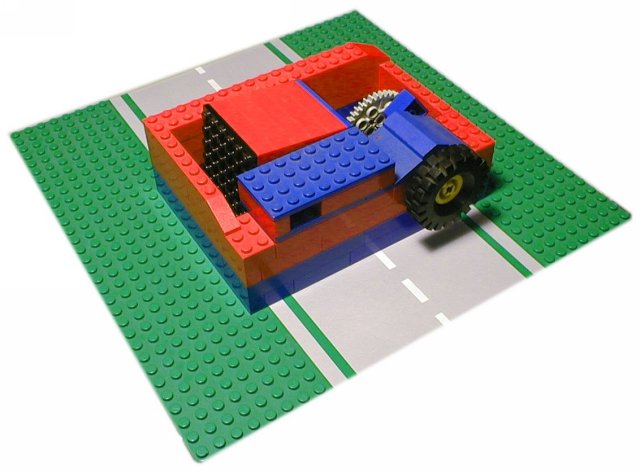
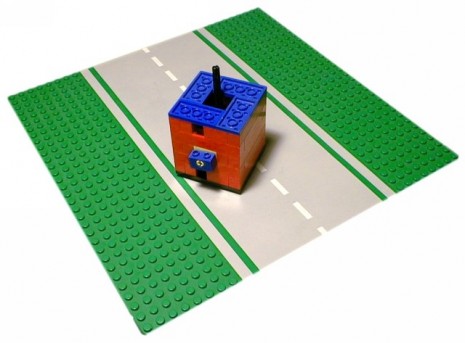
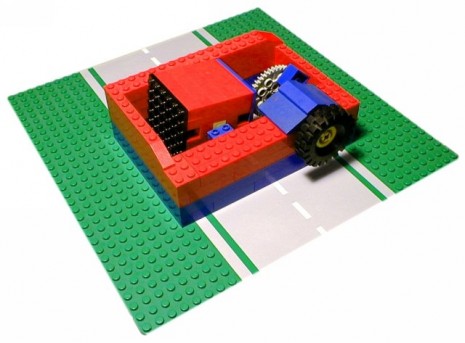
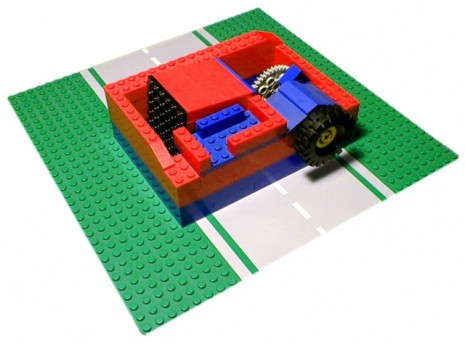
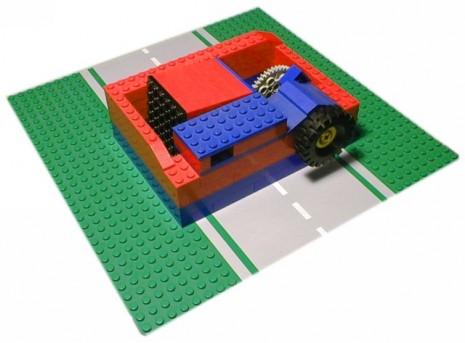
The double-acting 4×4 single cylinder steam engine
Here’s a complete construction sequence for a LEGO
engine. This is a real smooth runner, and being double acting, it can
start from almost any degree of the crankshaft’s rotation. I wish I had
the LEGO rpm sensor to test it for sure, but from the sound it makes,
my guess is that it reaches 700 rpm under full (and I do mean full)
‘steam.’
With the lego rpm sensor, this fellow has been getting 2300 rpm
readings out of a similar engine to mine, running on suction from a
vacuum cleaner.
This engine uses a 6×6 cylinder, and a 4×4 piston. I attribute the
higher speed with this design, it would seem that the added
displacement helps to offset the friction. It seems there’s not the
same increase in friction in the larger size. (Some of my other engines
used 2×2 piston designs.)Parts:
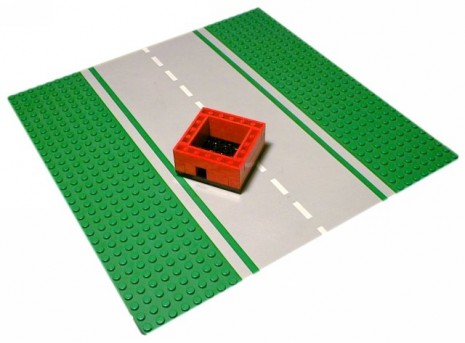
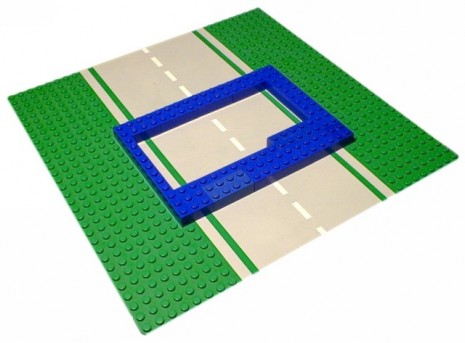
• 6×6 plate x 1
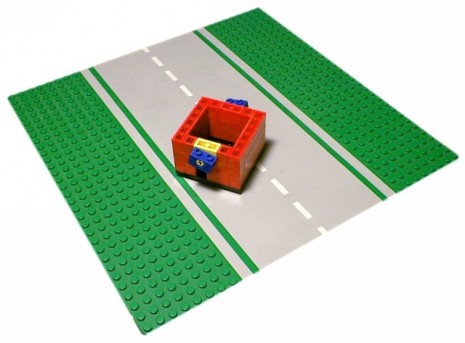
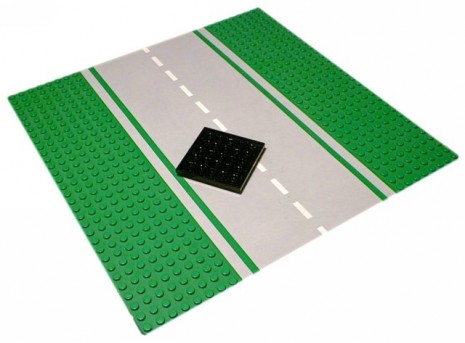 The cylinder head is a 6×6 plate
Be sure to get this in the right spot. The valving/timing depends on the location of the ports.Parts:
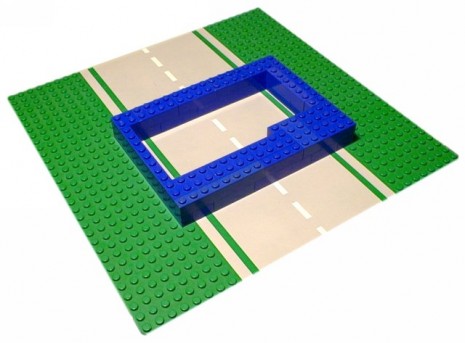
• 6×1 brick x 2
• 4×1 brick x 1
• 2×1 brick x 1
• 1×1 brick x 1
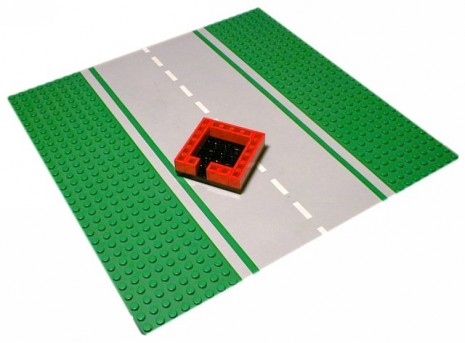 The cylinder head, shows top intake port
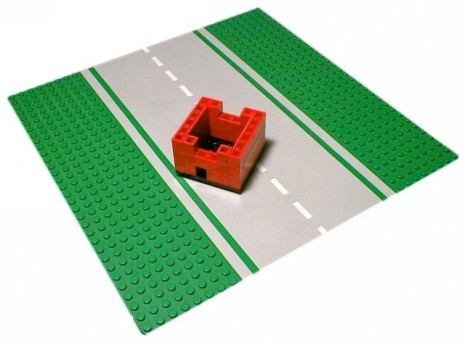
Parts:
• 6×1 brick x 2
• 4×1 brick x 2
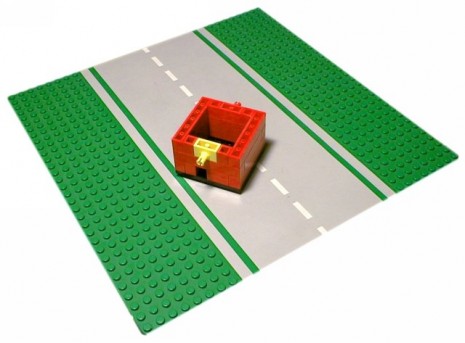
Parts:
• 6×1 brick x 2
• 1×1 brick x 4
The cylinder will ‘rock’ on these pivots. I used 2×1 blocks with the
pegs molded right into the side. You could also use a 2×1 block with a
hole, and then one of those grey pins, but the mechanism would be a
little more sloppy.Parts:
• 2×1 brick with pegs x 2
Parts:
• 2×1 brick with holes x 2
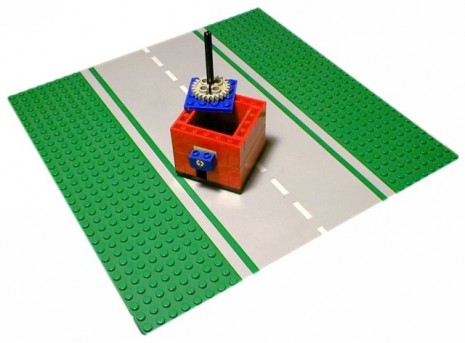
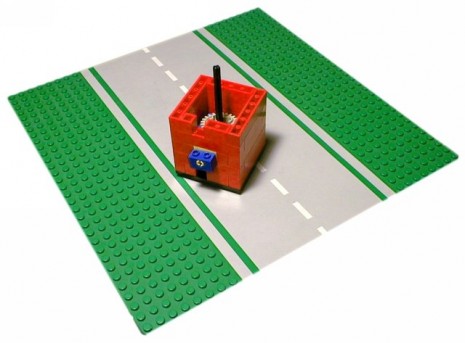
Use a 4×4 plate for the piston, and a gear snaps right into place in
the center. Then a 6-long shaft is used for the connecting rod.Parts:
• 4×4 plate x 1
• 24 tooth gear x 1
• 6 length shaft x 1
Parts:
• 4×2 plate x 4
Parts:
• 4×2 plate with holes x 1
Parts:
• 1×1 plate x 2
Parts:
• wrist
Parts:
• U figure it out
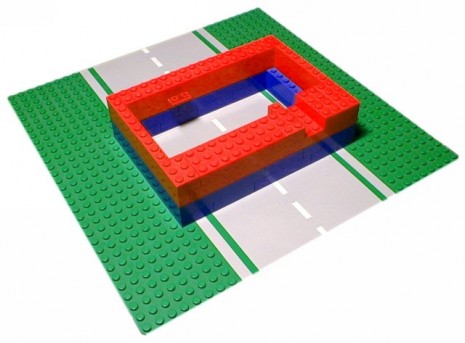 Engine base, not notches for pivot supports
Parts:
• 2×2 inverted slant brick x 2
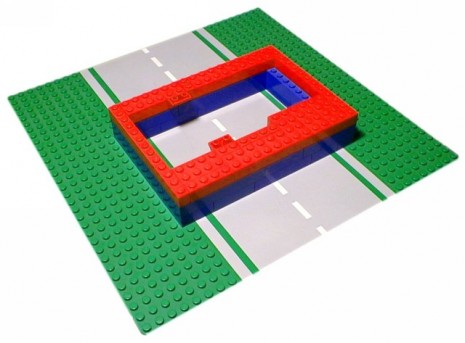 Engine base, pivot supports in place
Parts:
• U figure it out
 Engine base, note notch for crankshaft bearings
Parts:
• 2×1 brick with holes x 2
• Grey shaft collars x 2
• 8 length shaft x 1
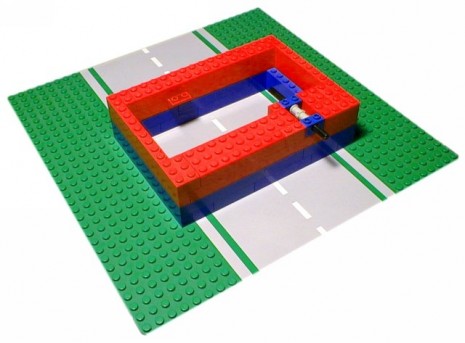 Crankshaft and bearings in place
Parts:
• 40 tooth gear x 1
• Large tire x 1
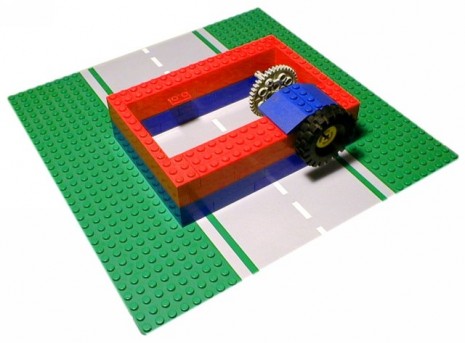 Bearings completed, crankwheel and flywheel in place
Parts:
• 4×3 slant brick x 2
• 4×2 peak brick x 1
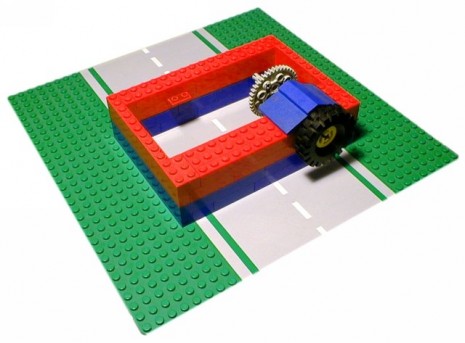 Cap on top of bearing assembly
Parts:
• Grey pin x 1
(Attaches connecting rod wrist to crankwheel)
Ok, ok. I’ve been saying ‘U figure it out’ on some of these steps. That’s
because there’s an almost infinite number of possible ways to fill in
these parts. However, I will say this: Make sure you interlock the
parts with the layer below! In other words, cover the seams so that
there are as few ‘stacked seams’ as possible, so the structure is solid
and strong! (You expert LEGO builders out there know what I’m saying.)
Parts:
• 4×8 plate x 1
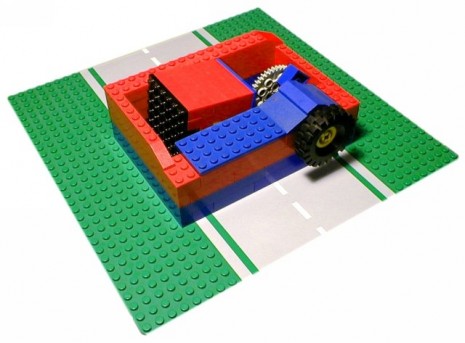 Steam chest bottom is 4×8 plate
Parts:
• 4×1 brick x 4
Parts:
• 4×8 plate x 1As a final step it
may be necessary to put the engine on a nice flat surface and press
firmly around the engine base (and the cylinder before mounting it in
the engine base). This more thoroughly aligns the whole engine and
reduces binding. You may also need to do this periodically as well,
because the parts tend to work loose with running.
Also, a word
or two about running. The engine will not start at top (0°) or bottom
(180°) dead center. It needs to be slightly past one of these points
for the piston to apply sufficient starting torque. The engine may also
need a stronger starting blast of air than it does to keep it running.
There
seems to be something about the way a person blows, too. Some of my
friends are completely unable to run the engine; they just slobber all
over it. Others (including myself) know something about puckering up
and giving a good hard ‘dry’ blow into the engine. If all else fails,
and you are certain your engine spins freely, try running it backward
with a vacuum cleaner. This is how like to I like to run my double
acting twin cylinder engine.
